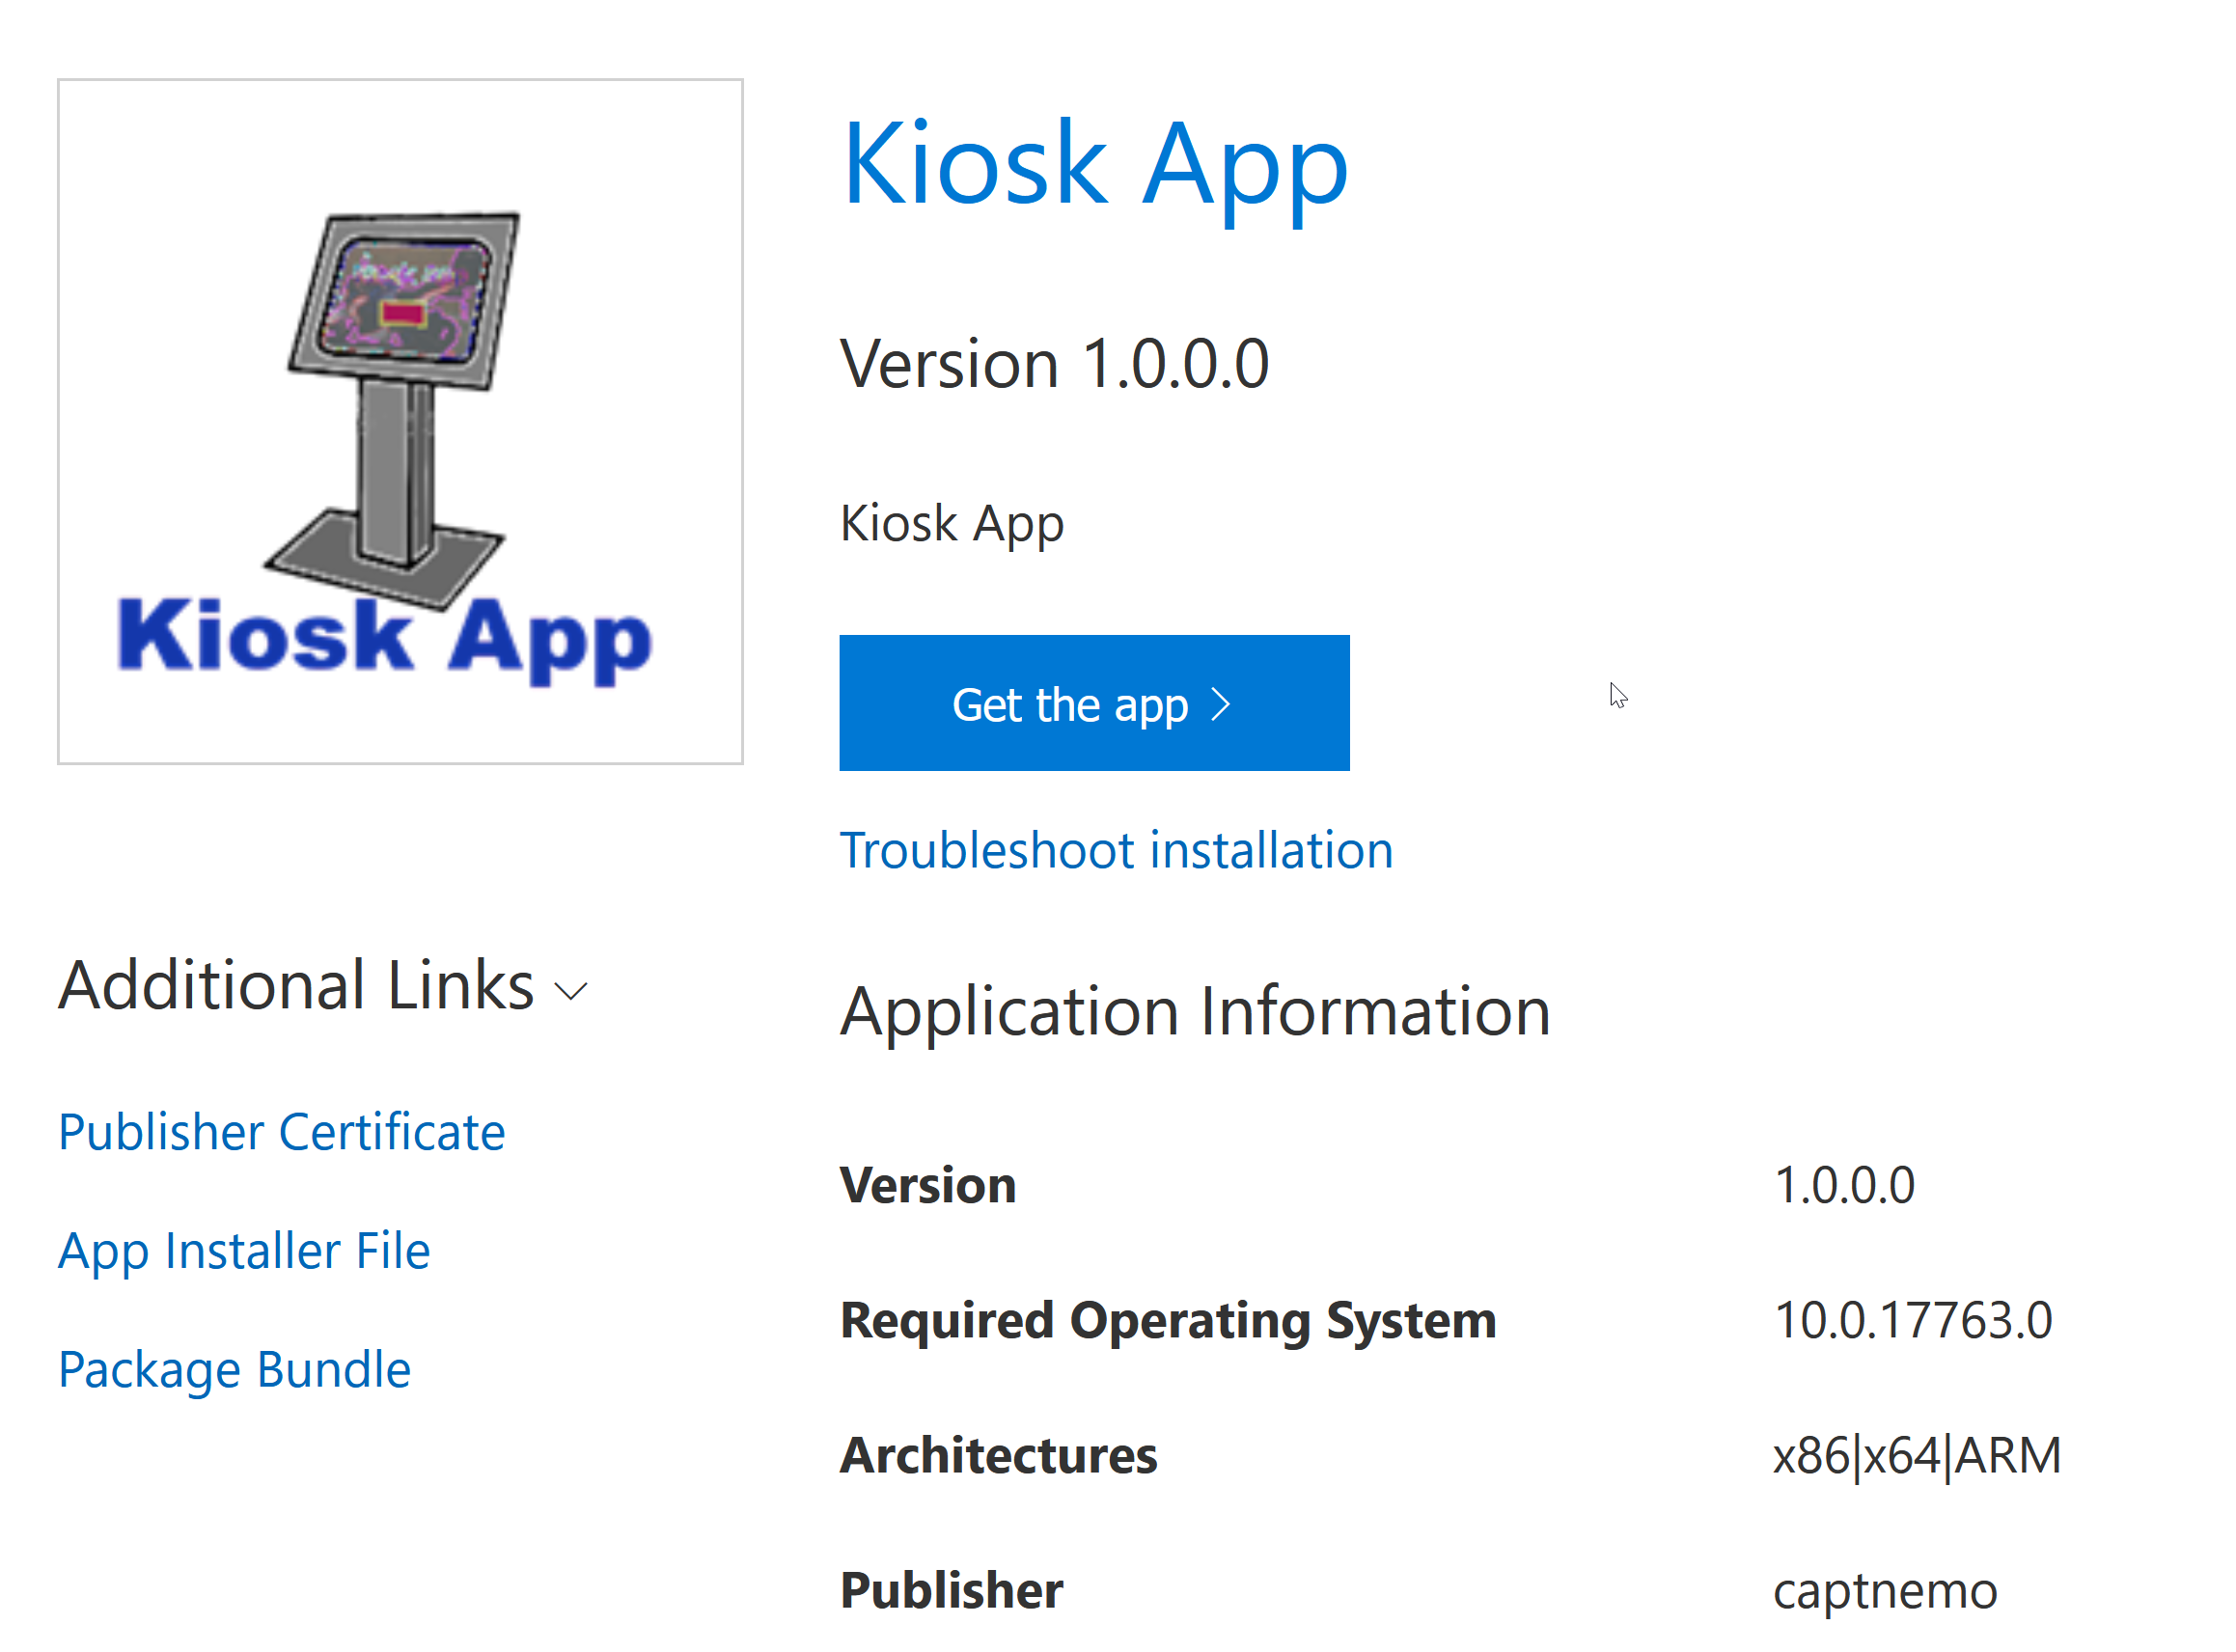


Now for my Kiosks I use an internal web page. This allows me to make changes that are reflected in all the kiosks right away. I couldn’t get this to work at first with my app then I found out there is a setting in the manifest that allows this. -Private Networks (Client & services)
To add this, double-click ‘Package appxmanifest’

Then choose the capabilities tab and make sure this option is checked

While you are here you may want to set the visual assets- pick an image you want for Your icons/splash screen etc. Click generate and it will create the proper sized assets for your app.

Ok, now we’re finally ready for some code.
Double click Mainpage.xaml and a view of your app layout should open with the xaml code below it.

This is actually the easiest part- look for the section of code that starts <Grid> and ends </Grid>
In between these tags you add <WebView x:Name="webView1" Source="http://www.contoso.com"/>
You can read more about webview here https://docs.microsoft.com/en-us/windows/uwp/design/controls-and-patterns/web-view
So now my XAML file looks like this:
<Page
x:Class="Kiosk_App.MainPage"
xmlns="http://schemas.microsoft.com/winfx/2006/xaml/presentation"
xmlns:x="http://schemas.microsoft.com/winfx/2006/xaml"
xmlns:local="using:Kiosk_App"
xmlns:d="http://schemas.microsoft.com/expression/blend/2008"
xmlns:mc="http://schemas.openxmlformats.org/markup-compatibility/2006"
mc:Ignorable="d"
Background="{ThemeResource ApplicationPageBackgroundThemeBrush}">
<Grid>
<WebView x:Name="KioskwebView" Source="https://www.chilembwe.com"/>
</Grid>
</Page>
And that’s it! To test this, you can click the green arrow at the top of the screen where it says local machine and your new App should open.

Of course, you can get ambitious at this point and add buttons that add whatever additional functionality you’d like to your kiosk app. Over on the right of the screen click on Toolbar and you’ll see lots of options you can drag onto your work area.
I’m going to add a home button to my App so I select the button and drag it onto the screen.

Now my xaml file contains
<Grid>
<WebView x:Name="KioskwebView" Source="https://www.chilembwe.com"/>
<Button Content="HOME" Margin="10,10,0,0" VerticalAlignment="Top" Height="94" Width="249"/>
</Grid>
(I changed the buttons Content to HOME) Currently though that button doesn’t do anything. So let’s add some code. Double click the button and it should open the C# part of the code and insert the button_click function. This is what will happen when the button is clicked but currently it is blank.
private void Button_Click(object sender, RoutedEventArgs e)
{
}
So lets add some code.
private void Button_Click(object sender, RoutedEventArgs e)
{
Uri HomeUri = new Uri("https://chilembwe.com", UriKind.Absolute);
KioskwebView.Navigate(HomeUri);
}
Now when someone clicks the home button it will take them to that url
So now you should have enough basics to customize your kiosk app however you’d like, but how do you use it?
First you need to package it for distribution. Up at the top of the screen click Project->Publish->Create App Packages
Since I don't have a developer account, I chose to side load which does require developer mode but it can be turned off after the app is installed. Once you are done- You'll have a folder with the files you need to install the App.
There are also included PowerShell files that can help install the app for you. You can also post the files on a webserver and install them that way.
Once the app is installed you can go to settings and in the search field type Kiosk, choose an account name for your kiosk select you new app and reboot the machine- It should auto logon to the kiosk account and start the app. To access other features on the PC you would have to ctr-alt-del and enter a username/password for an account authorized to use the pc.


